
Making the polytunnel planters

Kian, one of our Build Trainees, walks us through the process of making our accessible keyhole planters in our polytunnel. Go behind-the-scenes and see photos taken at each stage of the process.
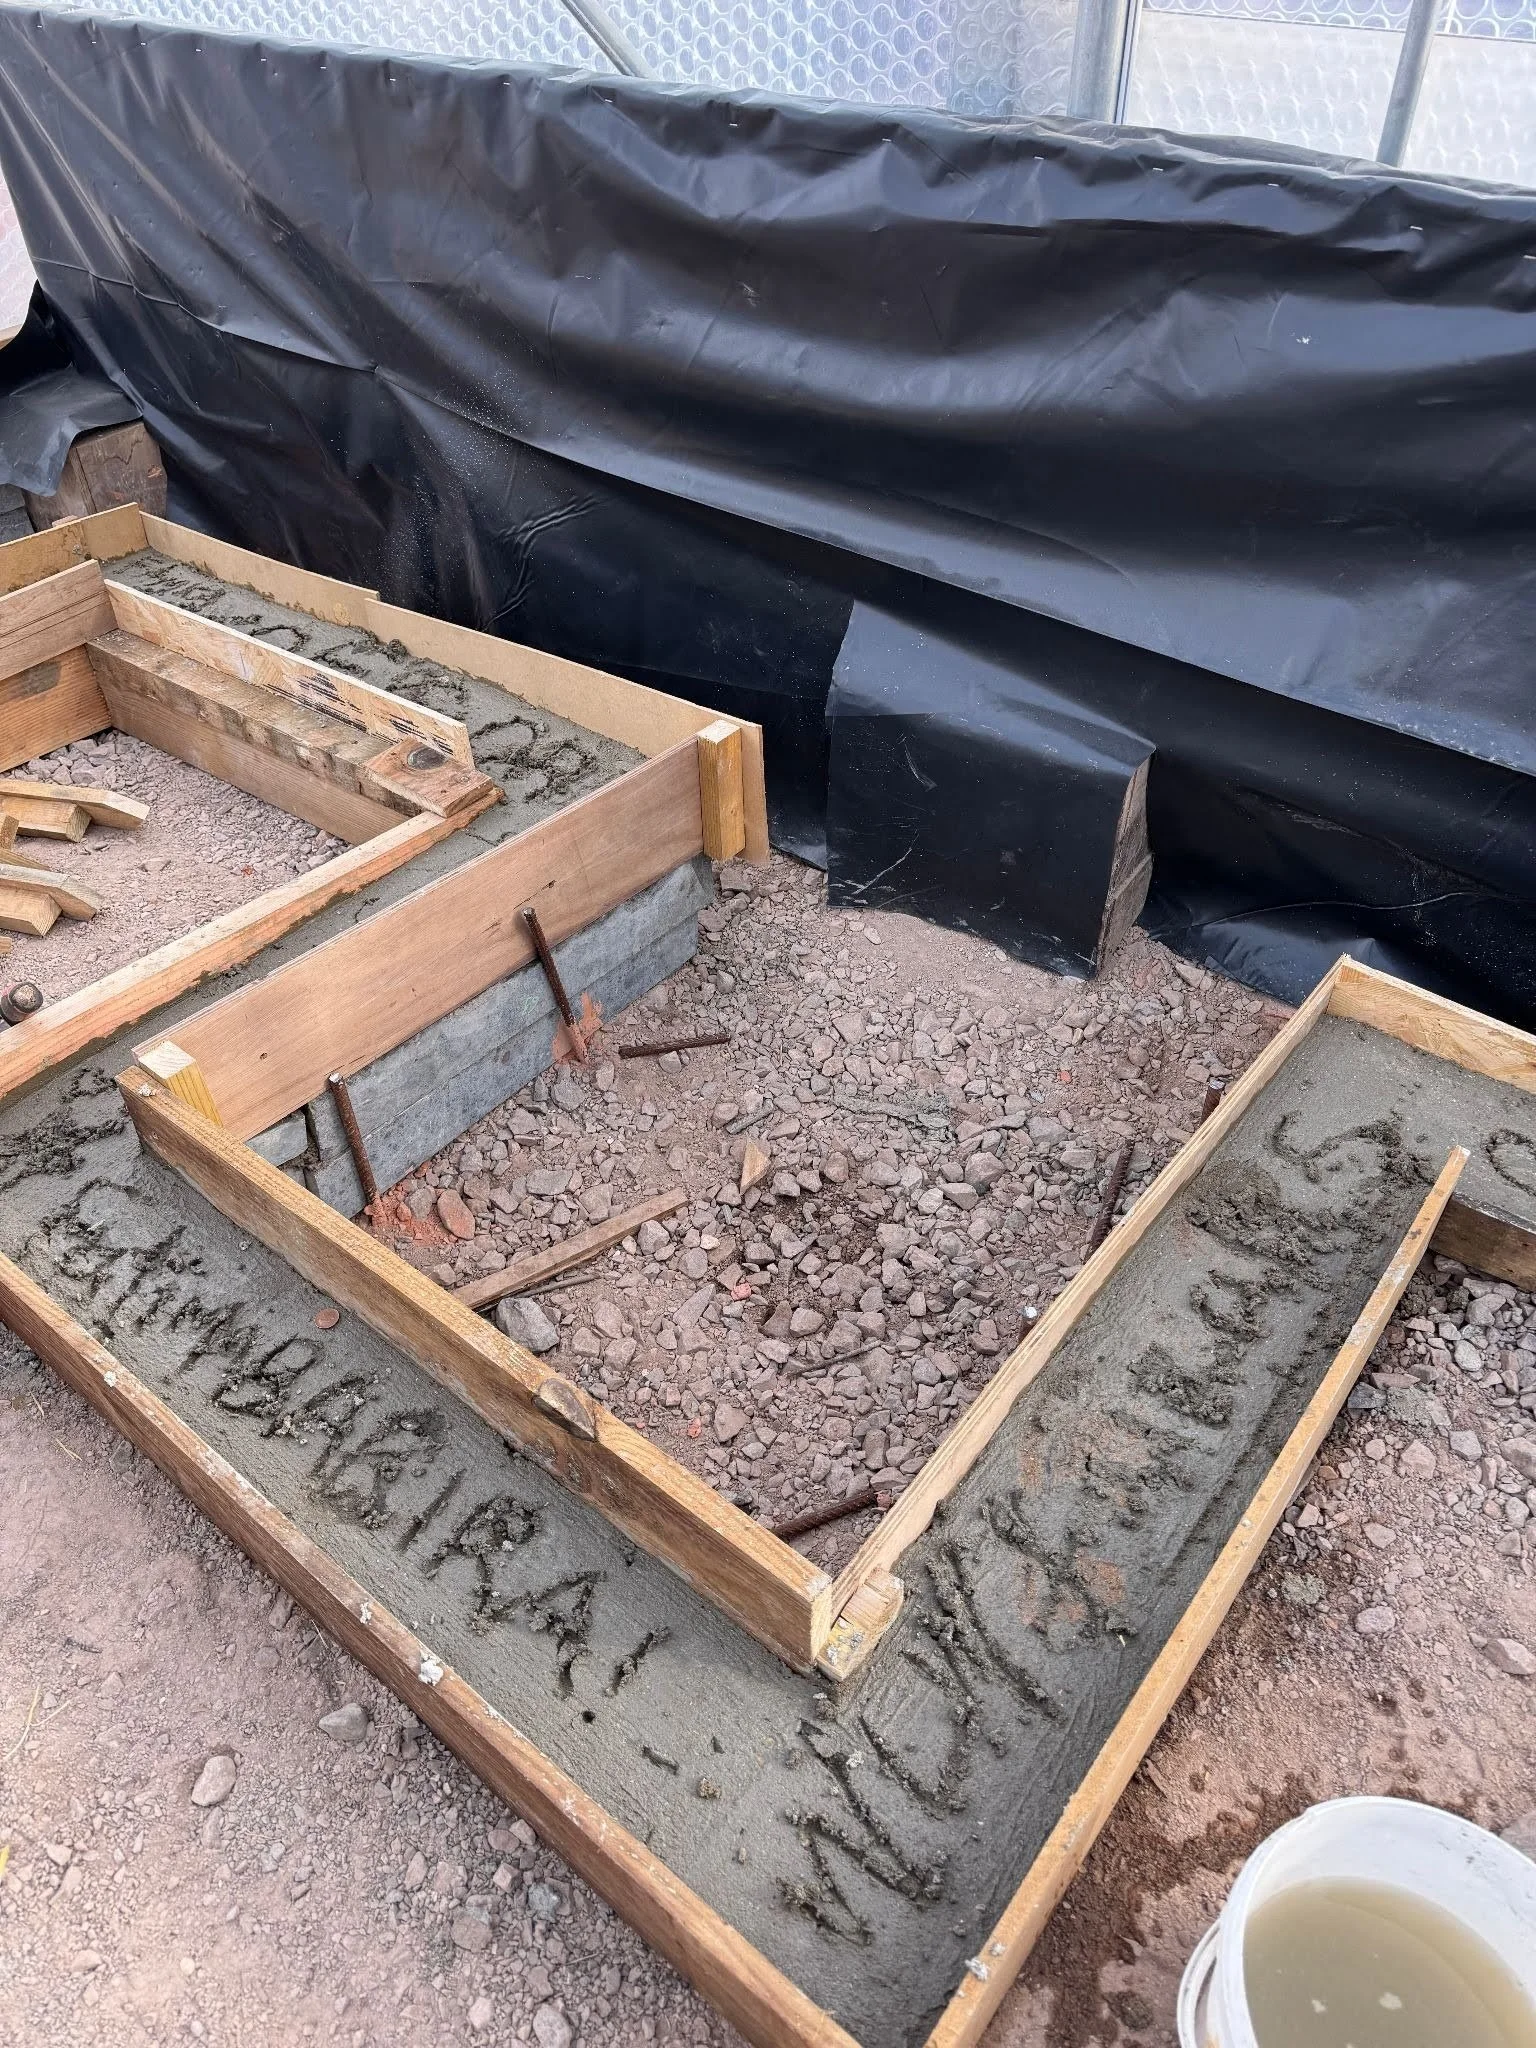
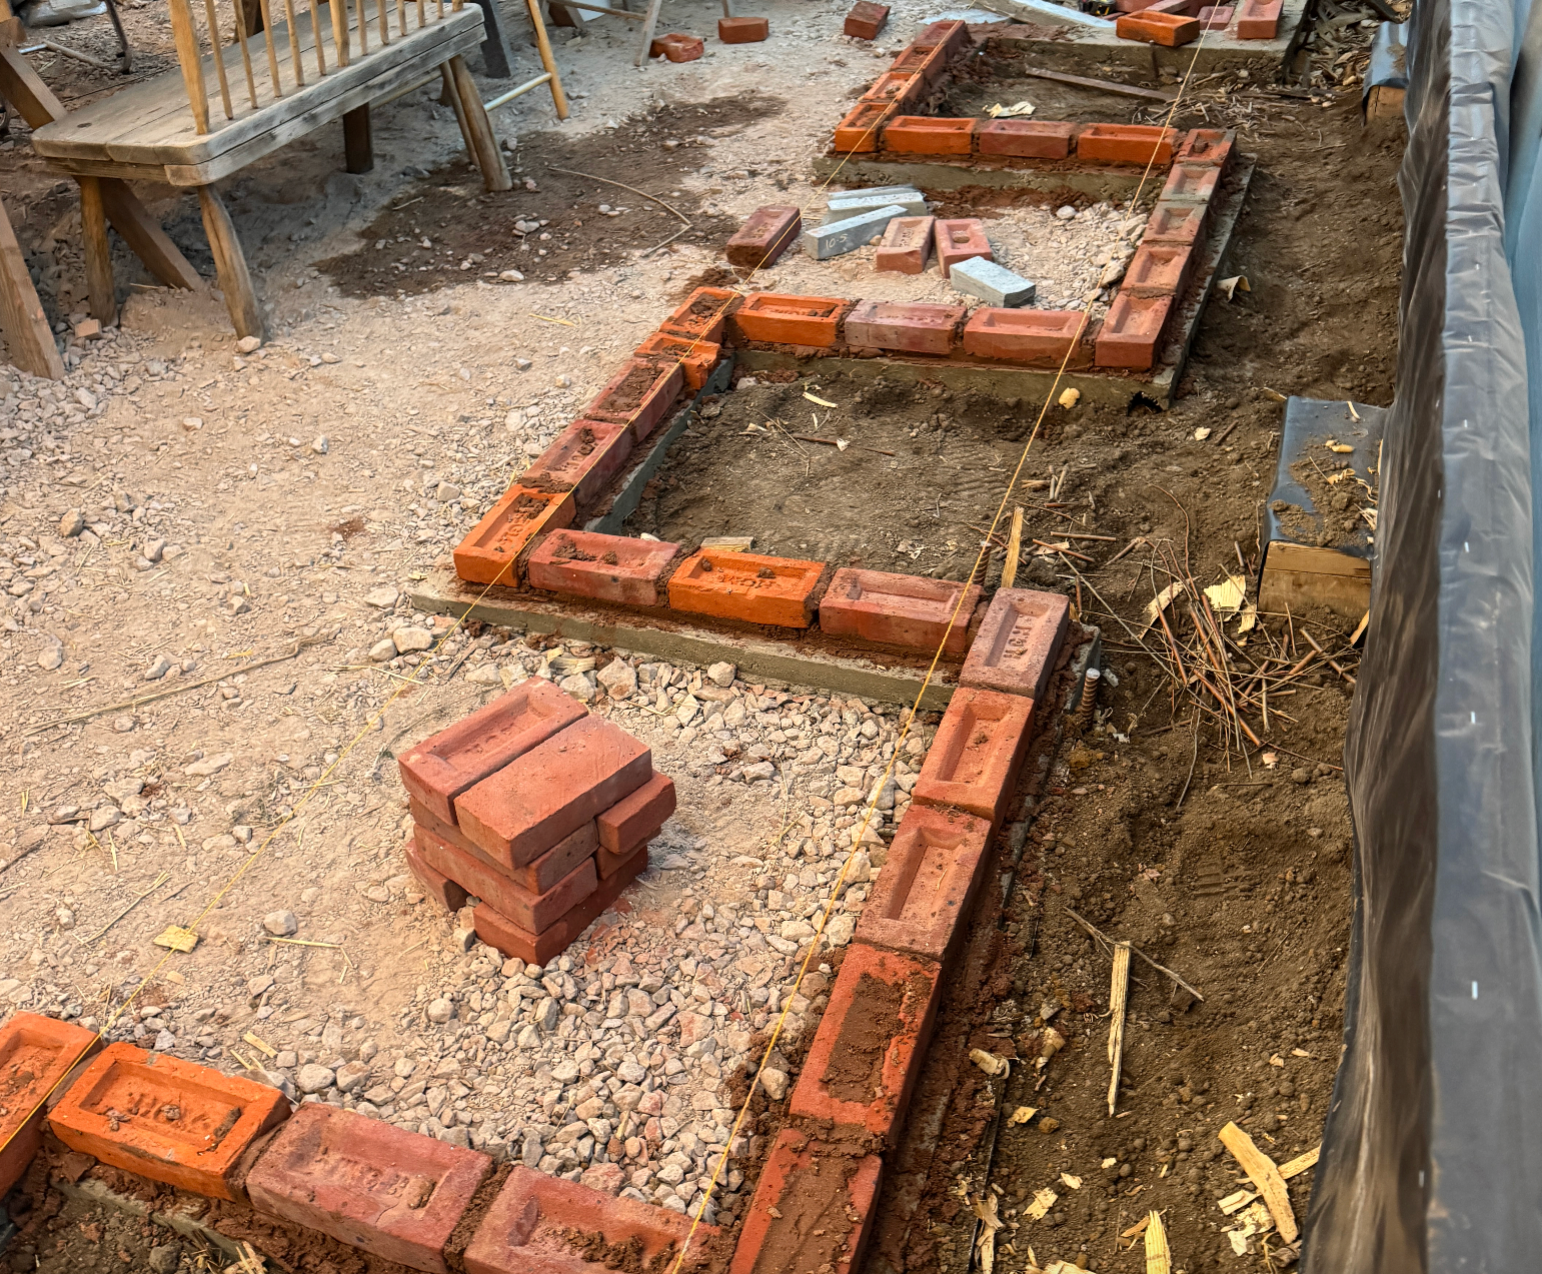
Measuring and setting the foundations: To ensure each planter was the right size, we measured the space. We then used spray paints to mark out the area for the footings. Slate slabs were used as a wall, secured in place with concrete and metal rods.
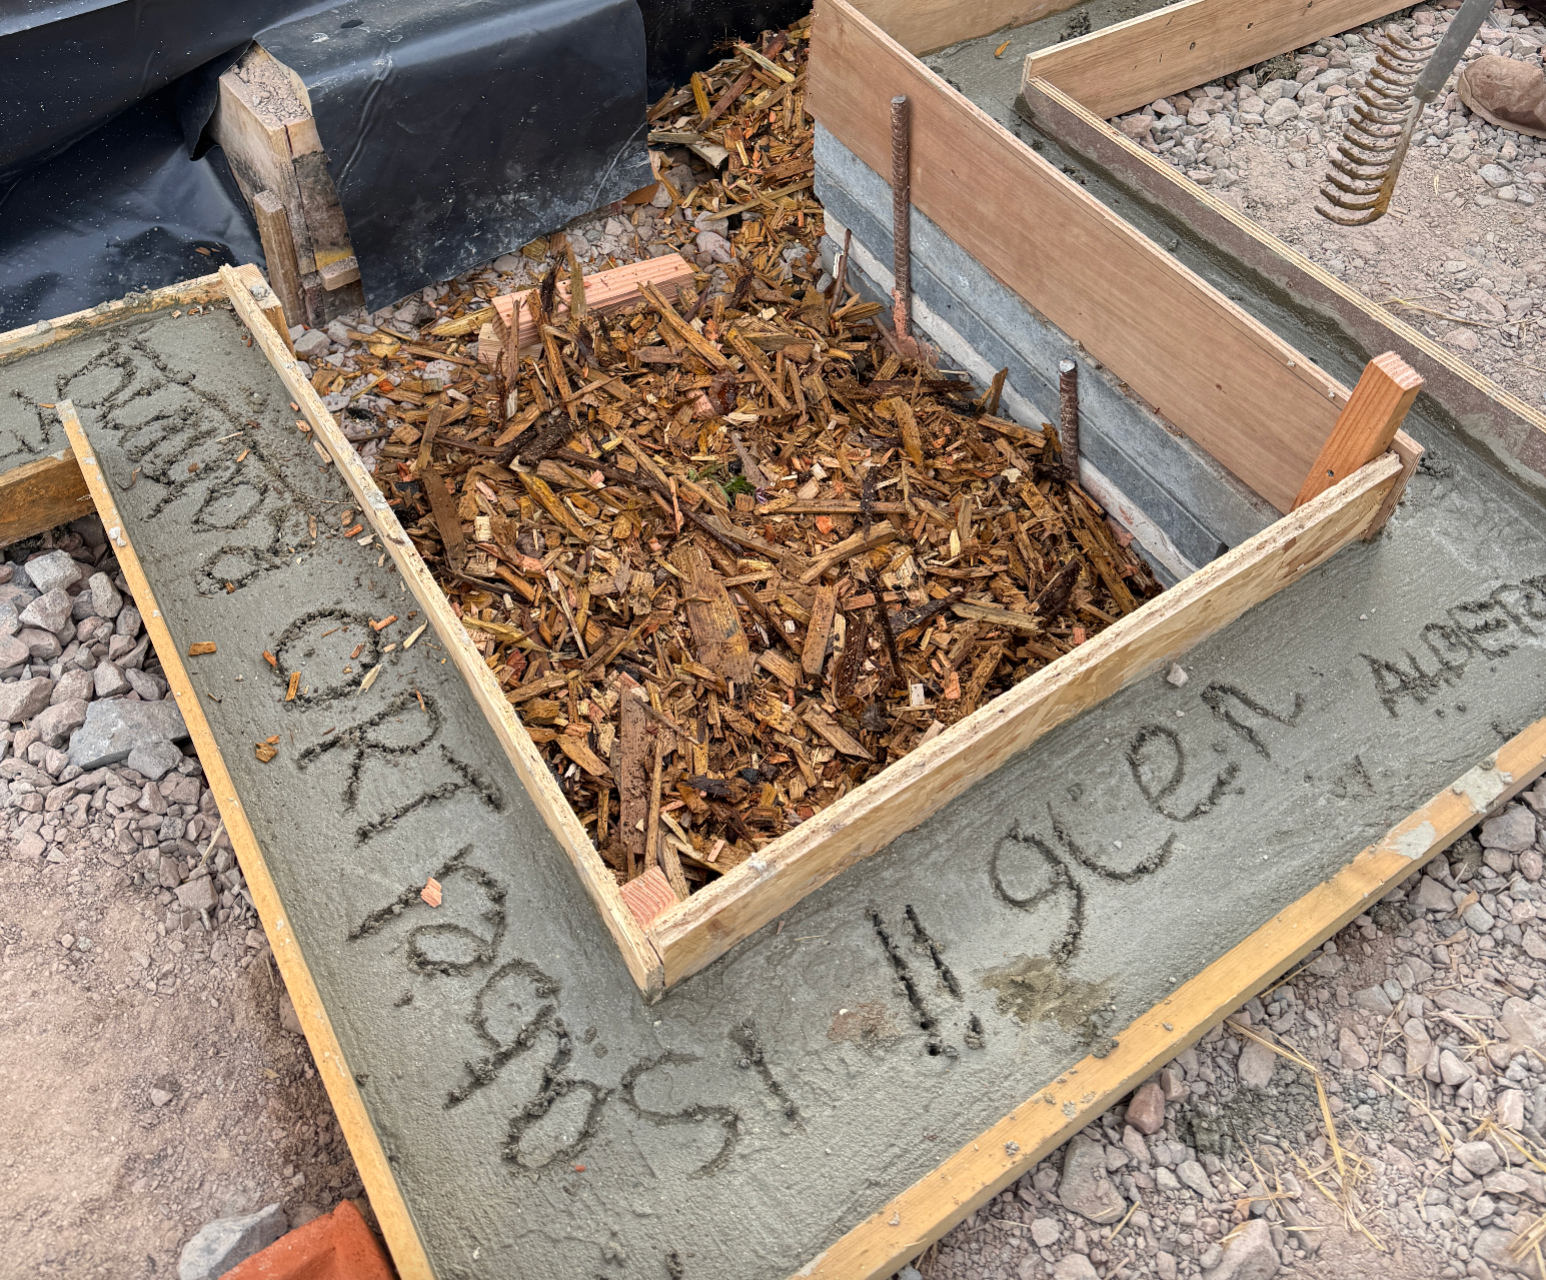
Fillling the cavity: We used wood chips because they will break down over time and turn into soil.
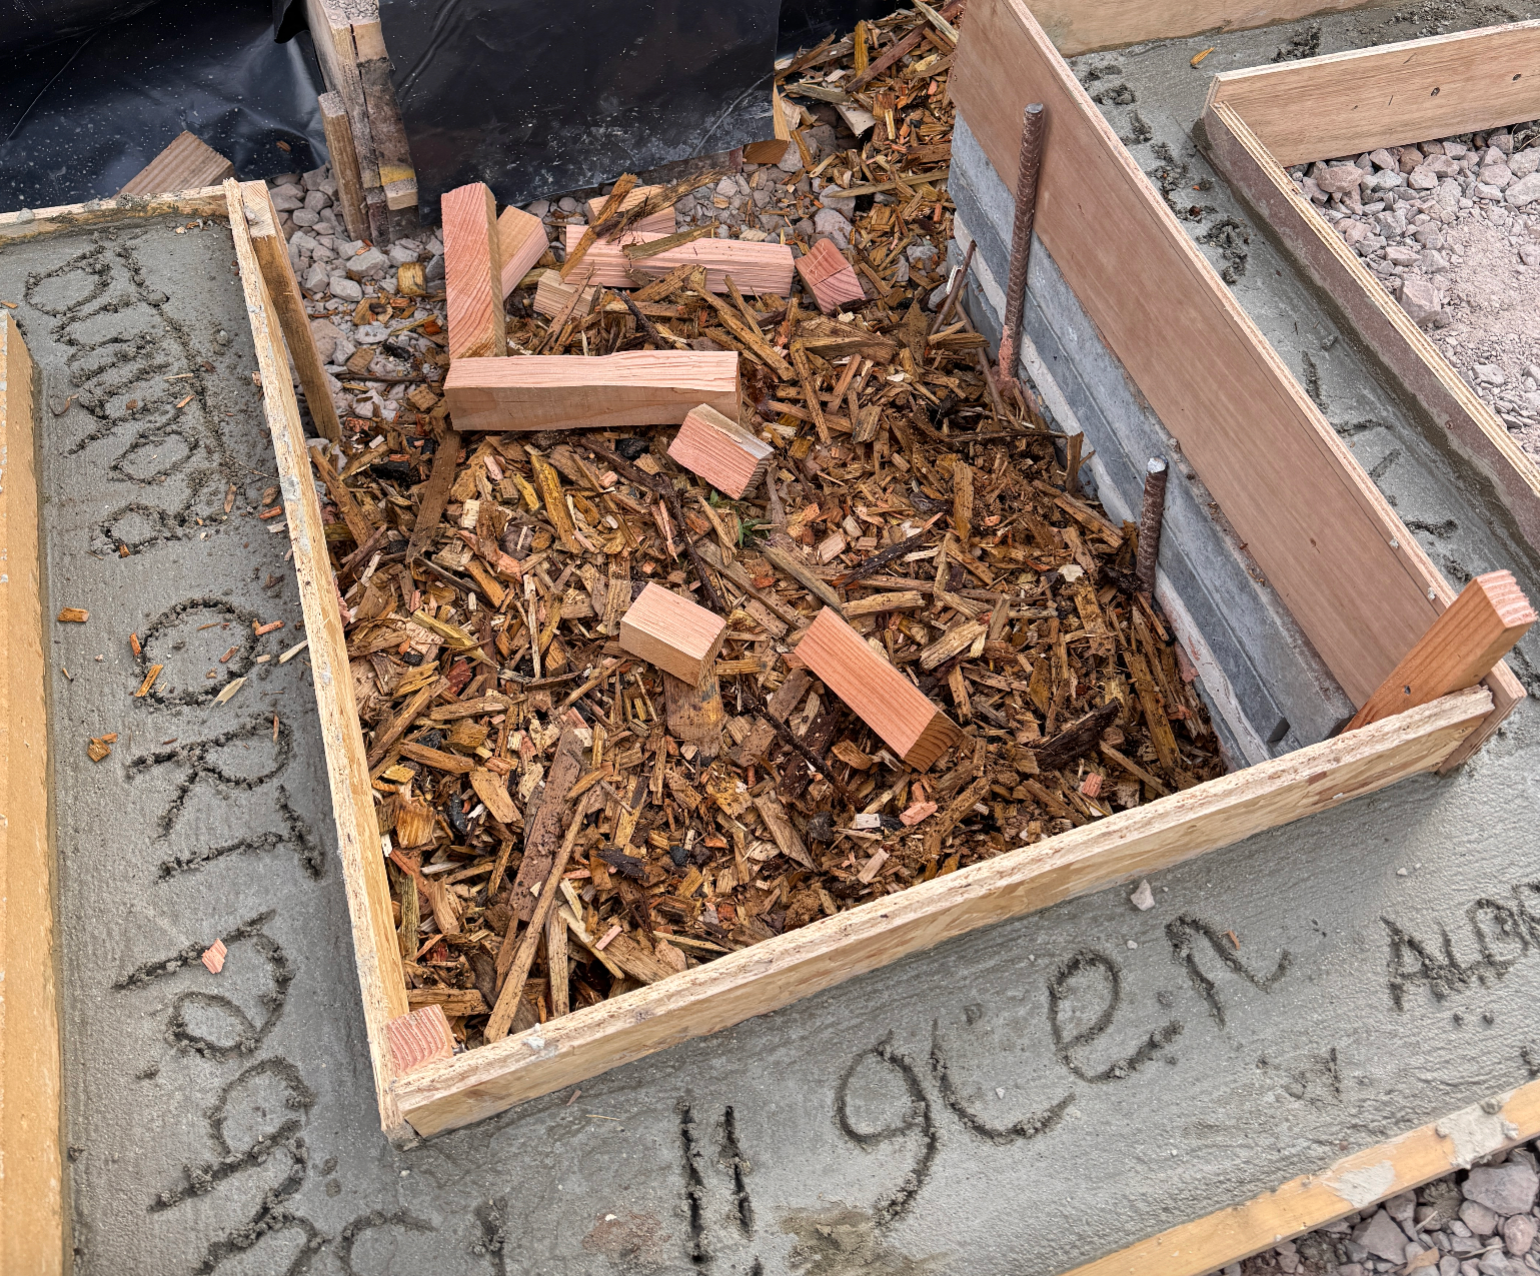
Making the mix: We then put in lodges, as they will take a bit longer to break down and will bring nutrients to the soil.
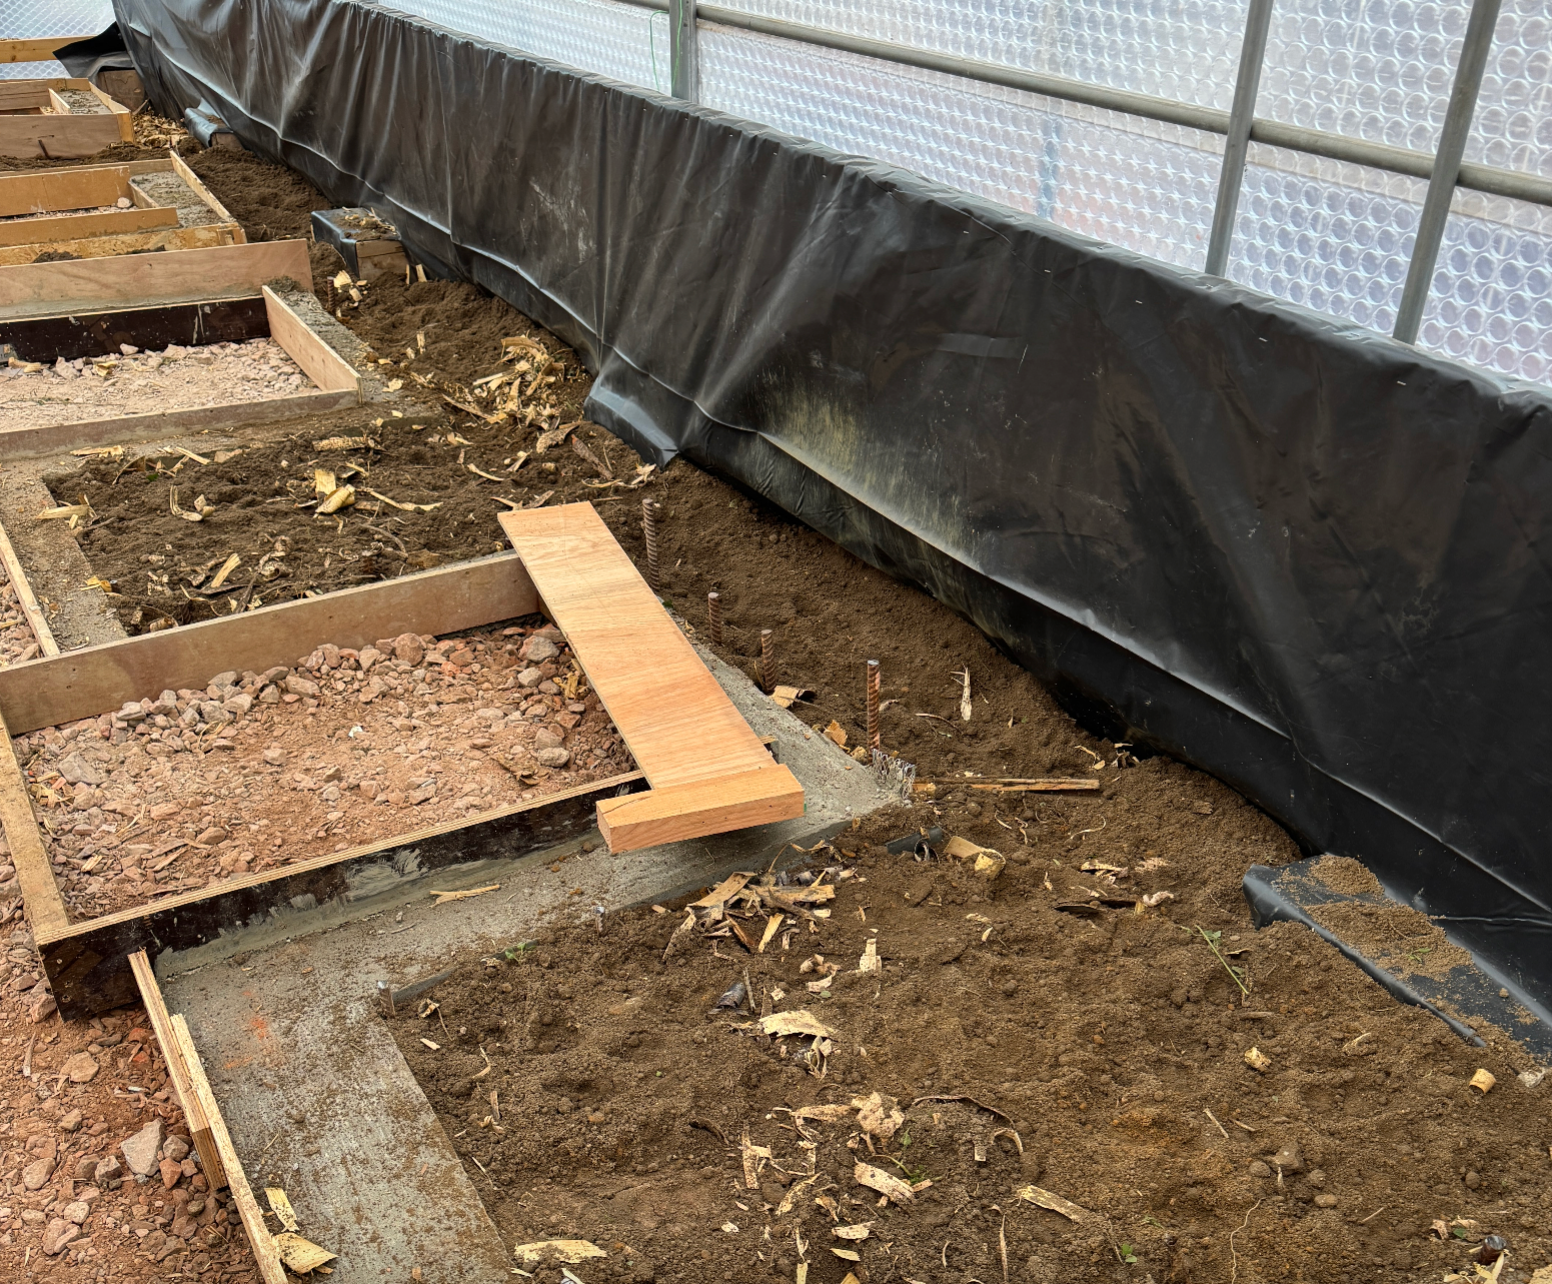
Filling the base: We filled the planted beds before building the wall, as we needed to find a height that would work for people of all needs.
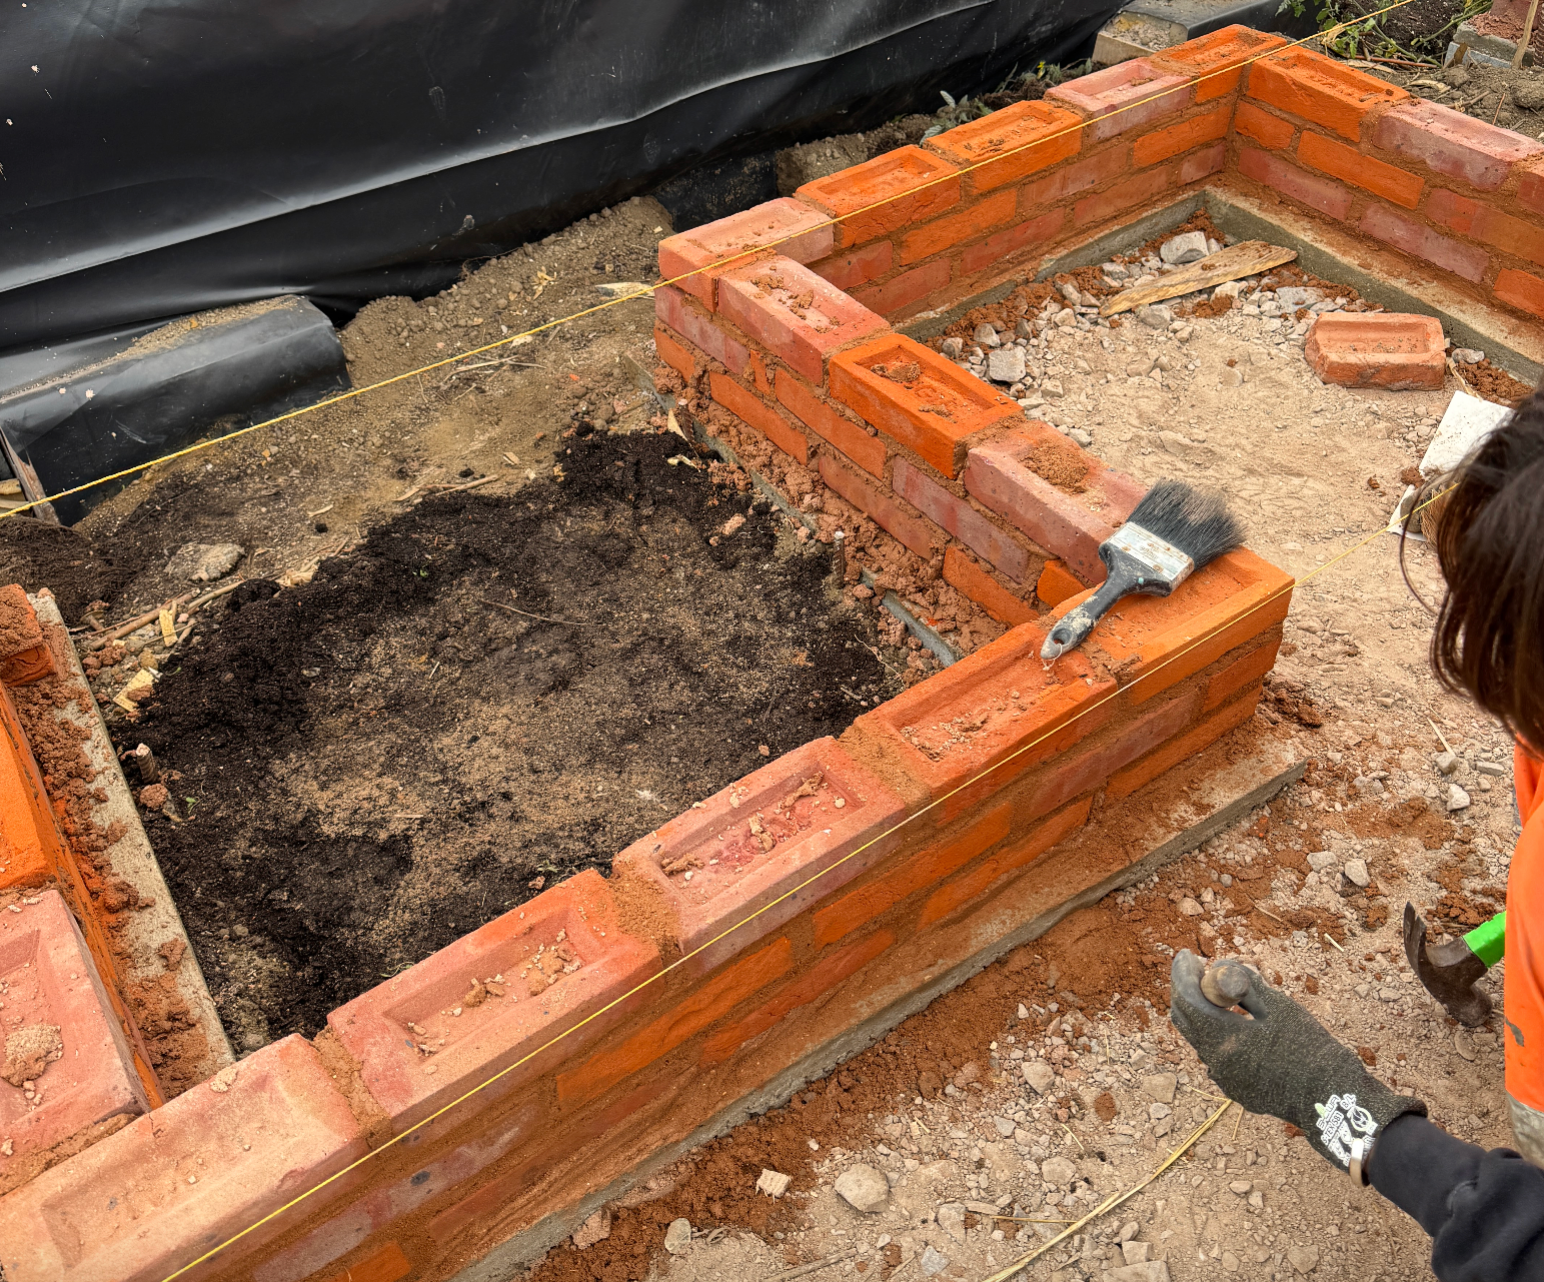
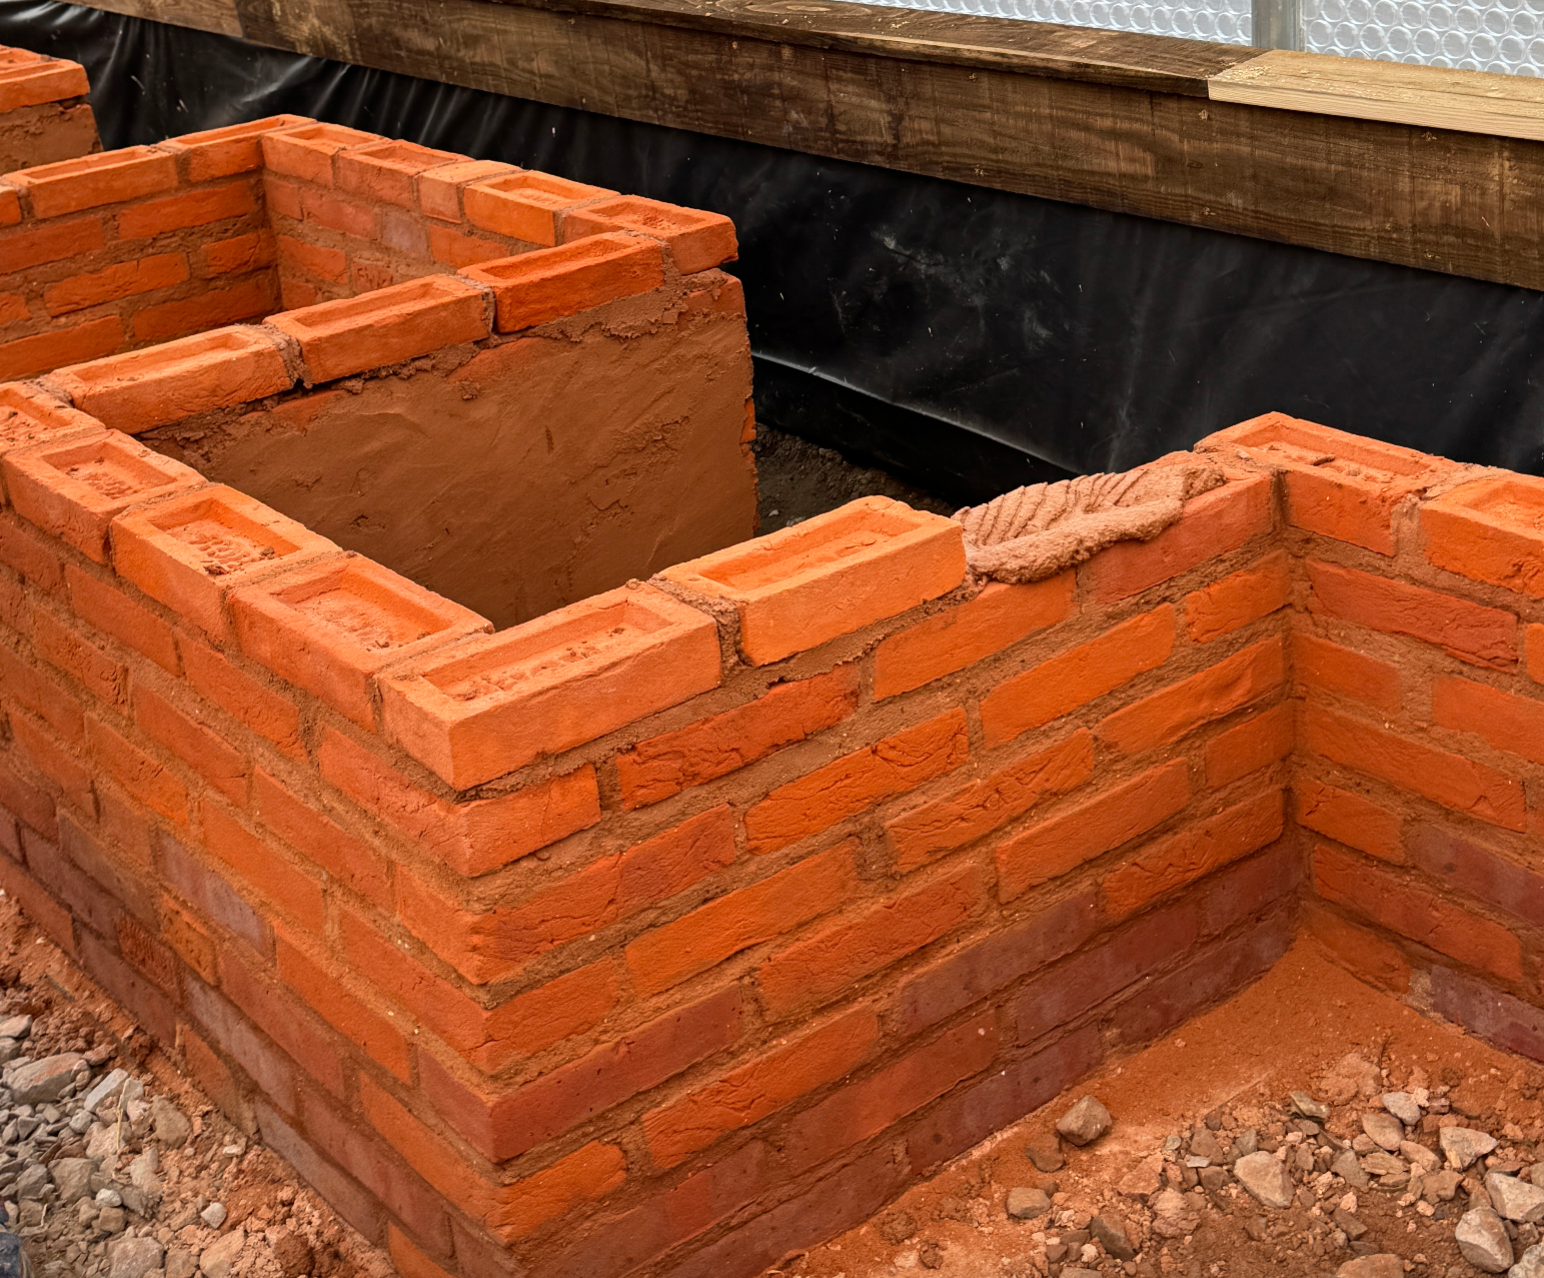
Bricklaying: We then began laying bricks down as the final wall, at a height of 700mm. This height worked for people standing and those in wheelchairs, ensuring everyone could assemble the space. We ensured the planter’s wall was level and straight before building the full planters. When we place the plant at the right height of 700mm, people in wheelchairs will be able to use it, and it will be suitable for children to sit down and use.
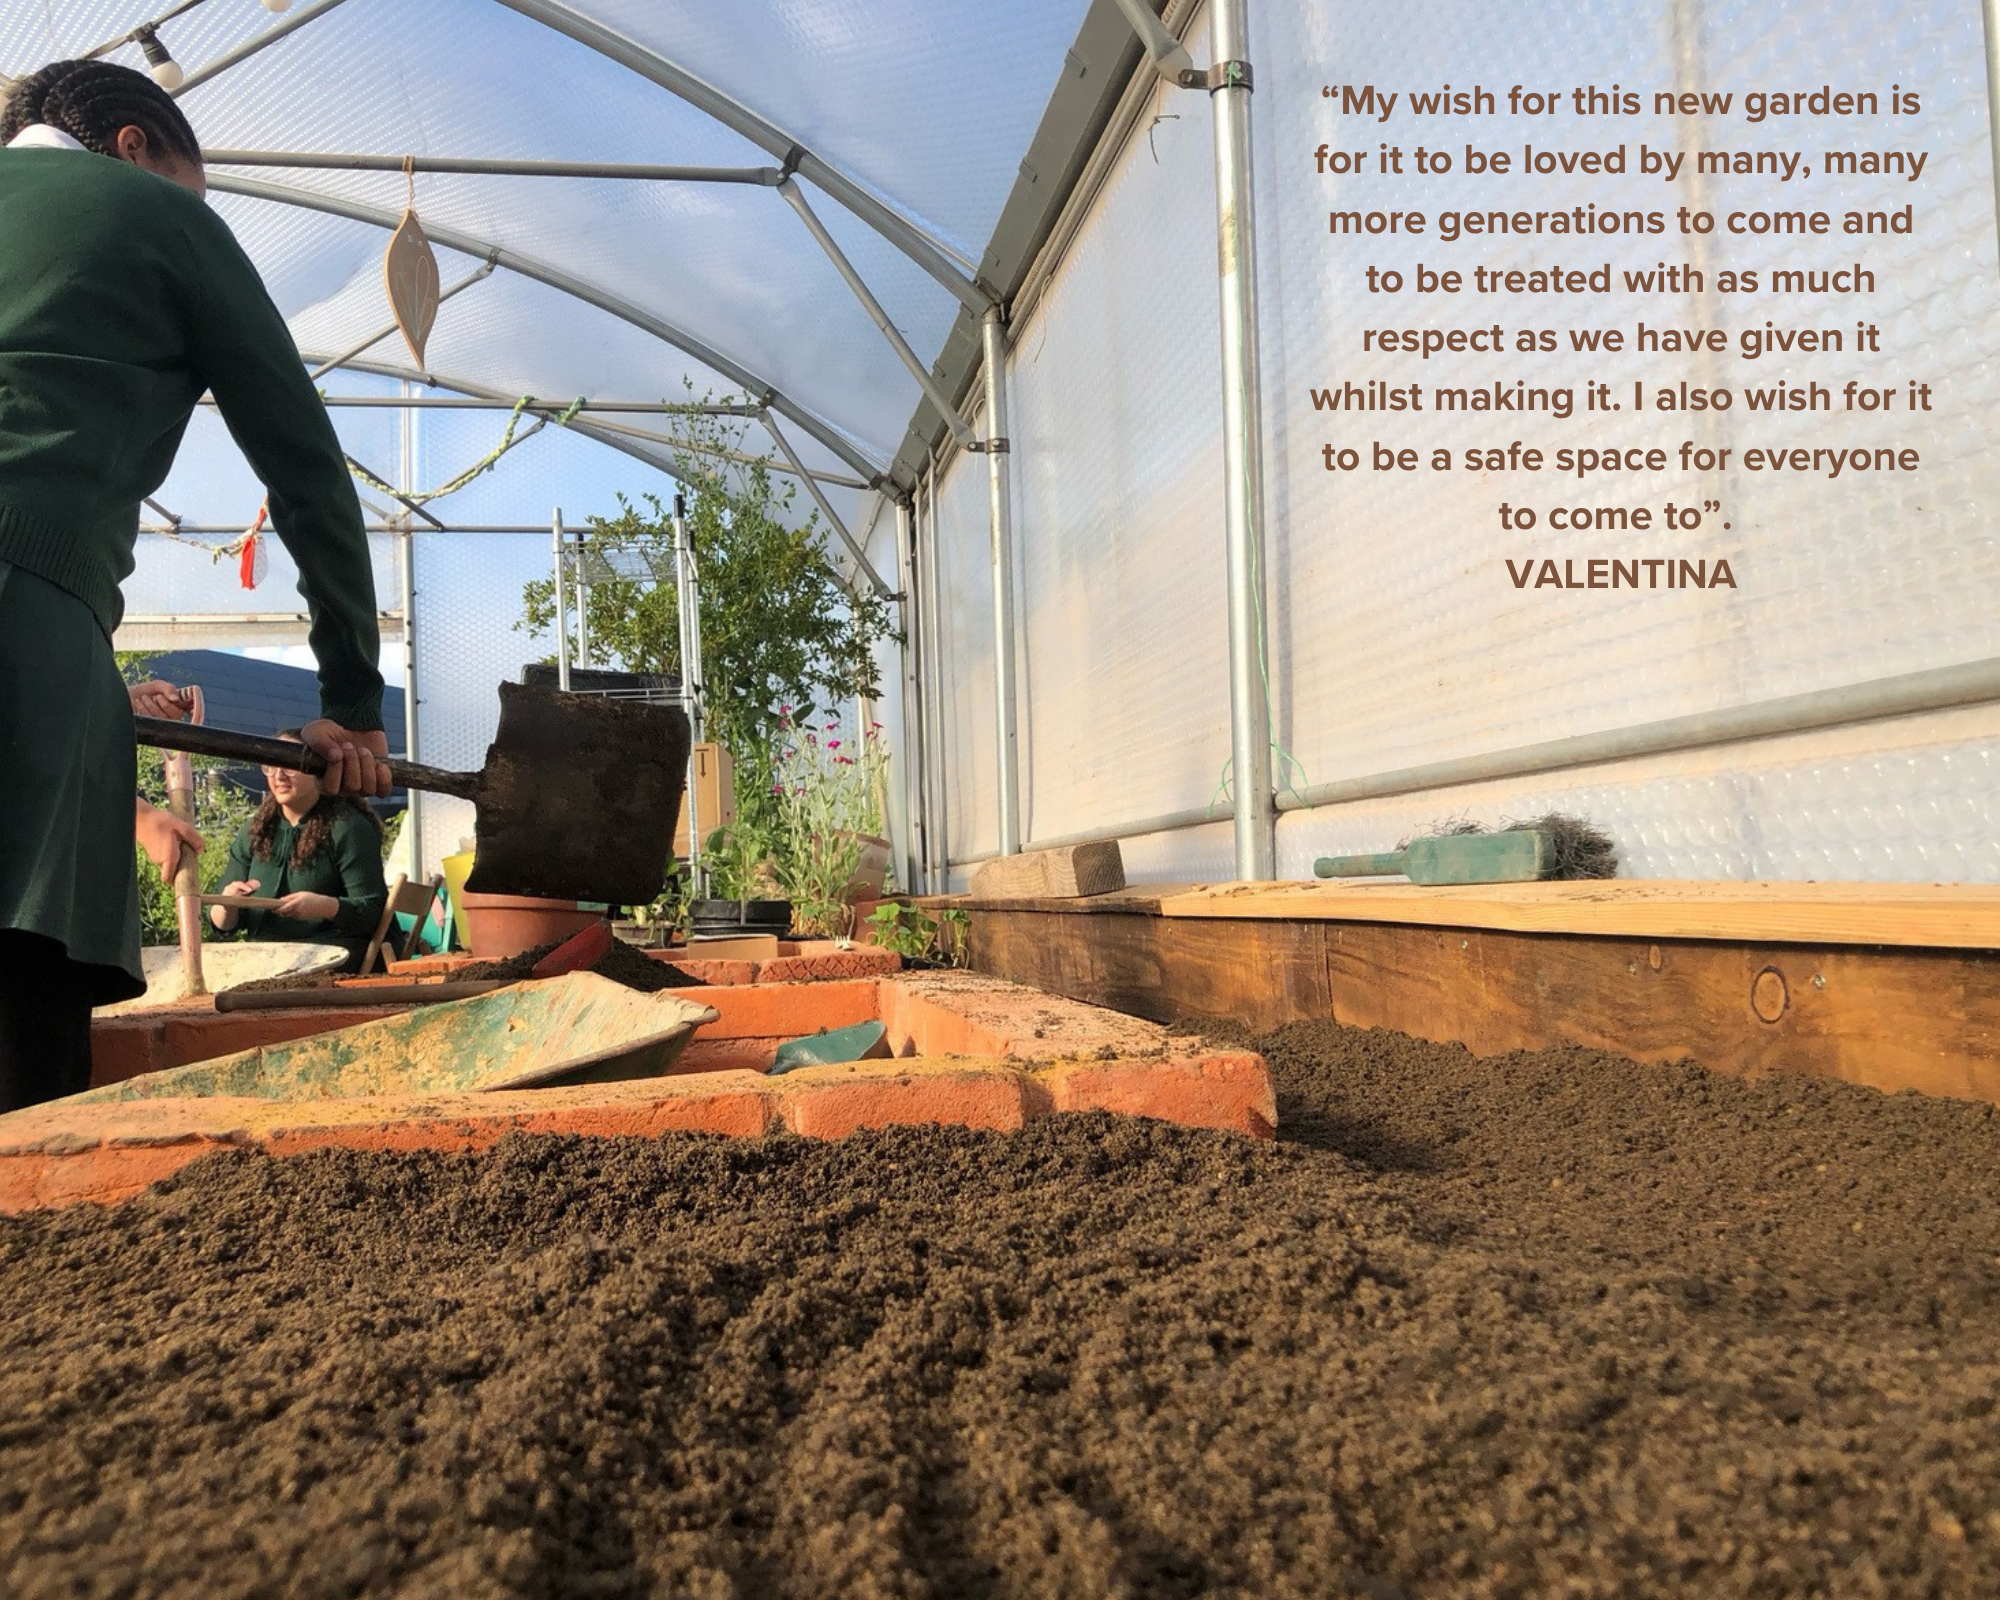
Filling the planter: The last step is to fill the planter with soil and then start thinking about what we might like to grow in it. We have to think about the temperature in the poly tunnel as this will affect what plants we can plant into the planters.
Notes from the Garden

Kian, one of our Build Trainees, walks us through the process of making our accessible keyhole planters in our polytunnel.